Scheduling Promotions
Run time-limited flash sales, restrict promotions to specific branches, and pause or resume deals without deleting them.
What You'll Learn
- How to set a start and end date for a promotion
- How to limit a promotion to specific branches
- How to pause a promotion temporarily using the Status toggle
Before You Begin
- You should have created at least one promotion (see Creating a Promotion)
- You need manager or owner access to edit promotions
Step 1: Open the Promotion for Editing
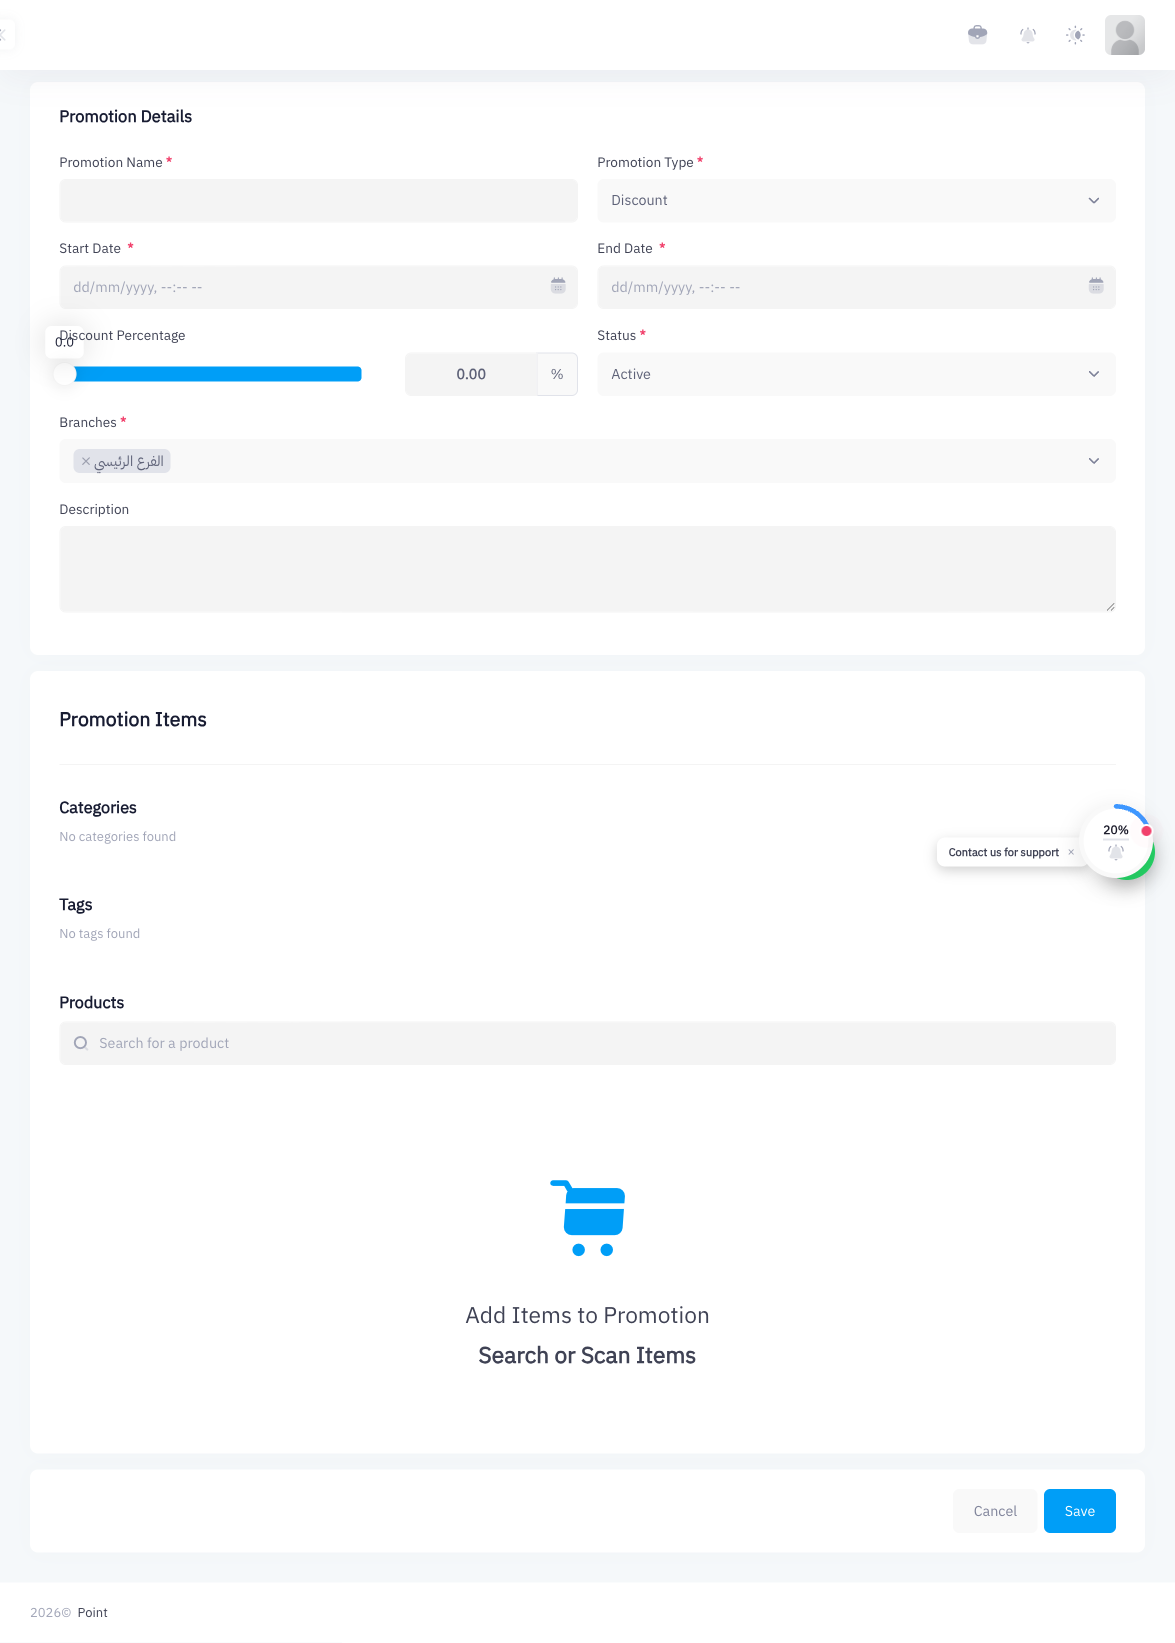
When creating a new promotion, the scheduling fields are on the main form. To edit an existing promotion, go to Promotions in the sidebar and click the promotion you want to change.
Step 2: Set the Start Date
Click the Start Date field and pick the date when the promotion should begin. The promotion will not apply at POS before this date.
Step 3: Set the End Date
Click the End Date field and pick the last day the promotion should be active. After midnight on the end date, Point automatically stops applying the discount.
Use this for:
- Flash sales (short window, e.g. 24–48 hours)
- Seasonal promotions (e.g. Ramadan, National Day)
- Week-long offers
Step 4: Restrict to Specific Branches
In the Branches section, uncheck any branches where the promotion should NOT apply. Only checked branches will see the discount at the POS. This lets you run location-specific deals (for example, a promotion only at your Riyadh branch).
Step 5: Toggle Status to Pause Without Deleting
Set the Status toggle to Inactive to pause the promotion at any time — even within the active date window. The promotion remains in your list and can be re-activated by switching Status back to Active.
Use Inactive status when:
- You need to pause a promotion temporarily (e.g. a pricing error)
- You want to prepare a promotion in advance and publish it later
- The promotion period has ended but you may reuse it next season
Step 6: View Active and Upcoming Promotions
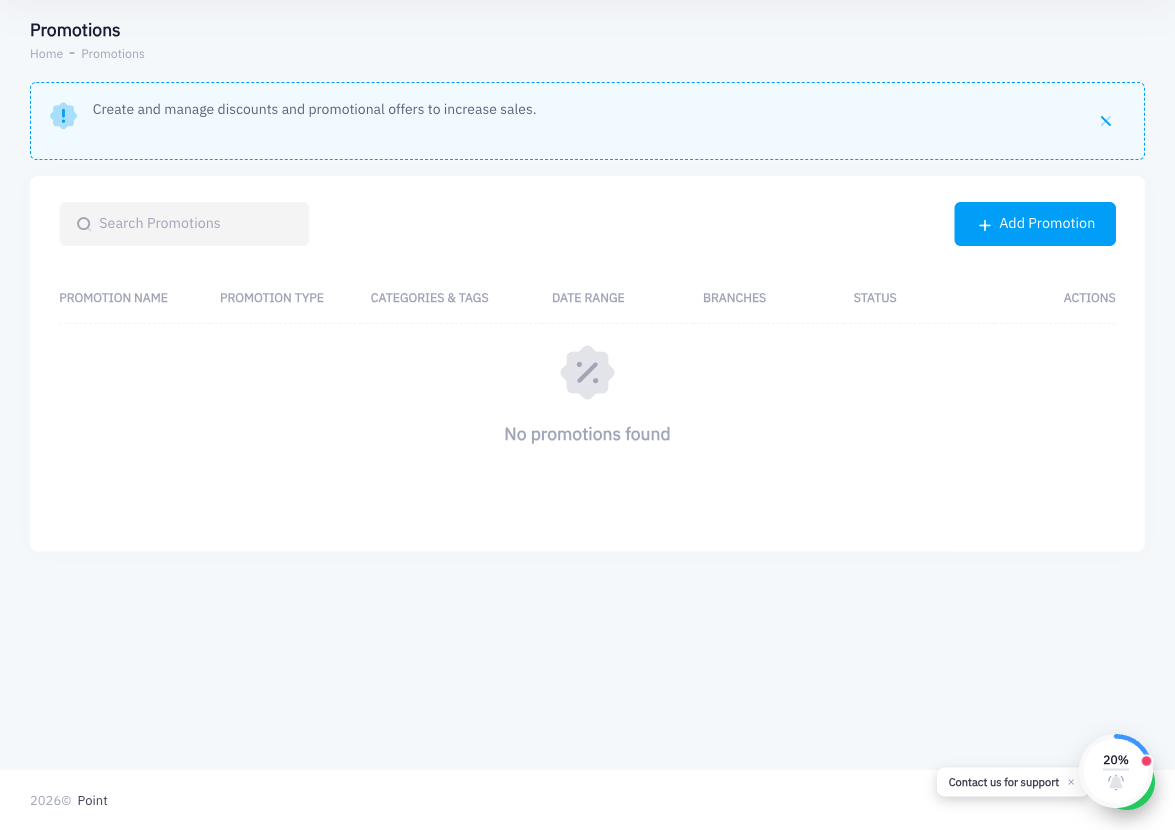
Go to the Promotions list to get an overview of all promotions. The list shows the promotion name, date range, and current status. Use this to confirm which promotions are live at any given time.
Summary
Scheduling a promotion is a matter of setting start and end dates and selecting the right branches. Point applies and removes the discount automatically based on the schedule — no manual intervention needed. If you need to pause a promotion at any time, use the Status toggle to set it to Inactive rather than deleting it, so you can easily reuse or reactivate it later.