Product Variants
Create a single product listing that covers multiple options — such as sizes or colors — each with its own price and stock level.
What You'll Learn
- When to use a Variant product instead of separate products
- How to create a product and define its variant attributes
- How to set a price and stock quantity for each variant per branch
- How each variant gets its own barcode and SKU
Before You Begin
- You must be logged in as an Owner or a user with product-management permissions
- The base product name and its variant options (e.g. sizes, colors) should be decided before you start
Only owners and managers can create or modify product variants. Cashiers select the correct variant at the time of sale on the POS screen.
Step 1: Go to Products
From the main navigation, click Products to open the product catalog.
Step 2: Click Add Product > Variant
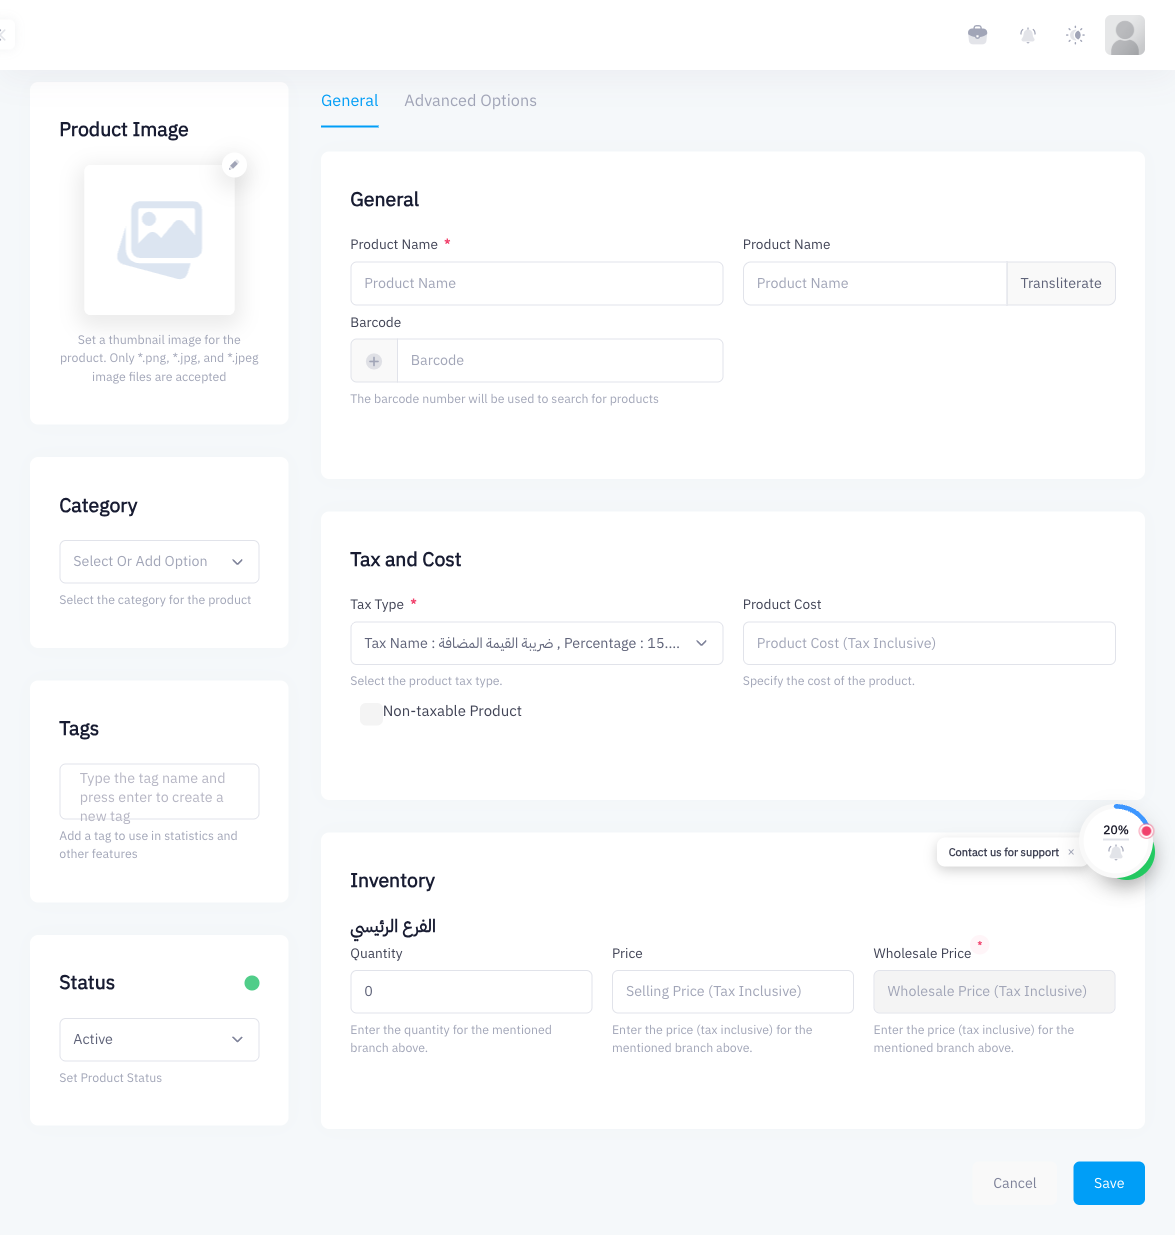
Click Add Product in the top-right corner and choose Variant from the dropdown. This opens the variant product form, which includes an additional section for defining variant attributes.
Step 3: Enter the Base Product Name
Type the base product name in the Product Name field — for example, "Classic Cotton T-Shirt". This name is shared across all variants and appears on the POS screen and on invoices alongside the chosen variant option.
Step 4: Set the Category and Upload an Image
In the left sidebar:
- Click the Category dropdown and select or create the appropriate category. Categories help cashiers filter products on the POS screen.
- Upload a product image (PNG, JPG, or JPEG). Because variants share one image, choose a representative photo of the product.
Step 5: Add Variant Attributes
Scroll to the Variants section of the form. Here you define the attributes and their values:
- Click Add Attribute and type the attribute name — for example, Size.
- Add the values for that attribute — for example, S, M, L, XL.
- To add a second attribute (such as Color), click Add Attribute again and repeat.
Point generates one variant row for every combination of attribute values.
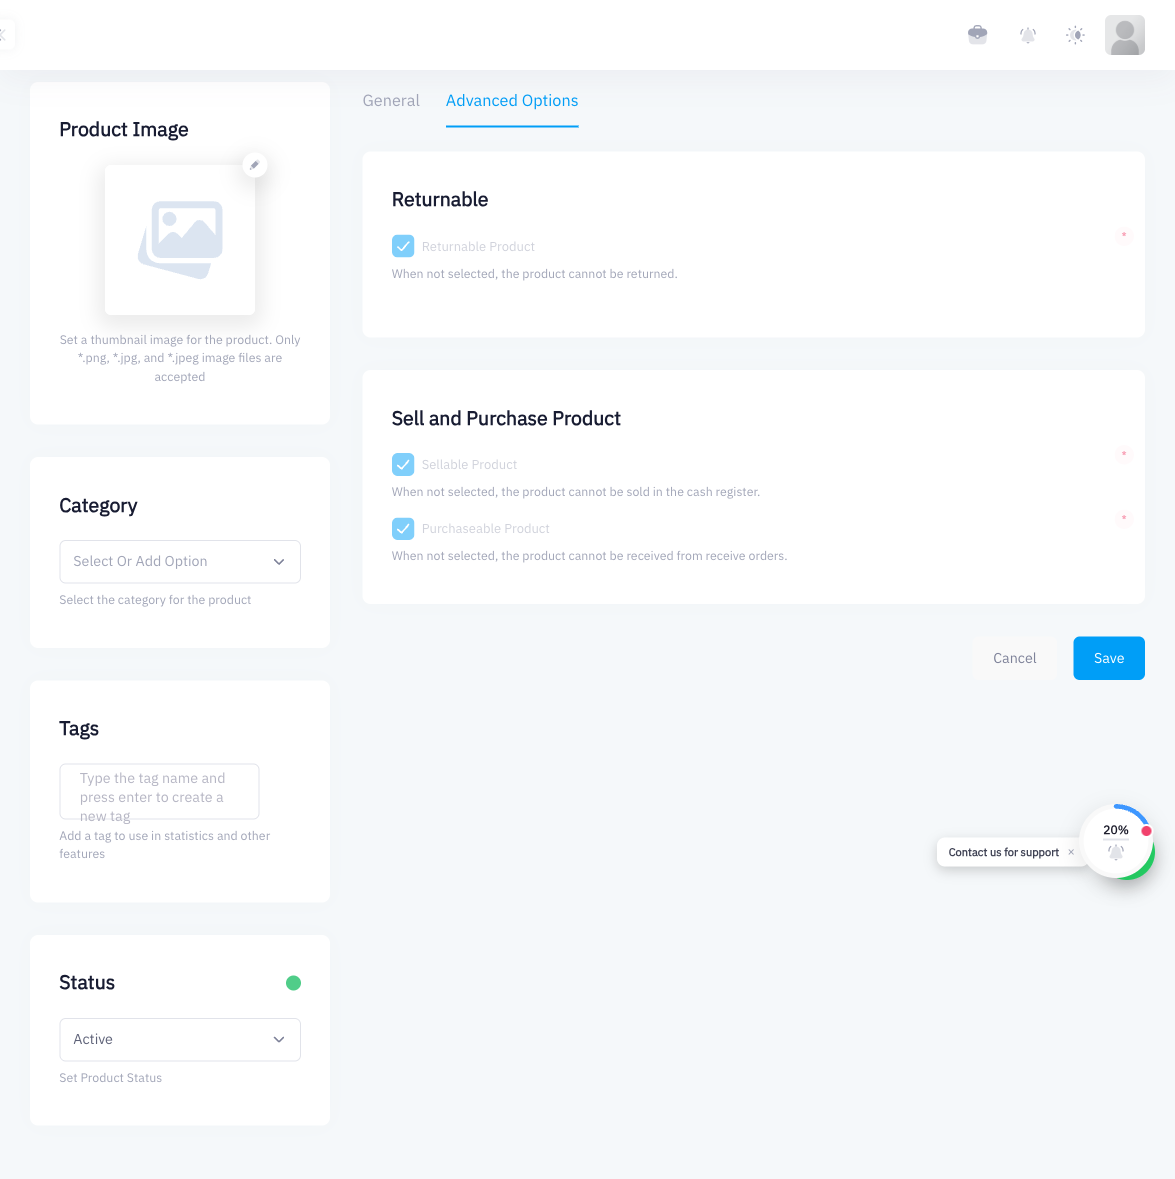
Step 6: Set Price and Stock per Variant per Branch
For each generated variant row you can set:
- Barcode — scan or type a unique barcode for this variant
- Price — the tax-inclusive selling price for this specific variant
- Quantity — the current stock level at each branch
If most variants share the same price, fill in the first row and use the Apply to All option (if shown) to copy the value down.
Step 7: Save
Click Save. Point creates the product with all its variants. On the POS screen, when a cashier searches for the product, they will be prompted to select the specific variant before adding it to the cart.
Summary
Variant products let you manage multiple options — sizes, colors, or any other attribute — under a single product listing. Each variant maintains its own barcode, price, and stock levels per branch, keeping your catalog clean and your inventory accurate.
What's Next
- Composite / Bundle Products — bundle multiple products into one sellable item
- Managing Stock Levels — update stock quantities after setup
- Categories & Tags — organize variants with categories and tags