Purchase Orders (Receive Orders)
Record incoming stock from a supplier and have Point automatically increase your branch inventory.
What You'll Learn
- How to create a Receive Order to log stock arriving from a supplier
- How to add products with their cost price and purchased quantity
- How the order updates inventory at the selected branch
- How to optionally manage suppliers before creating orders
Before You Begin
- You must be logged in as an Owner or a user with inventory-management permissions
- The products being received must already exist in your catalog (add them first if needed — see Adding Your First Product)
- Having a supplier record set up is optional but recommended for tracking and reporting
Receive Orders are available on all plans including the free plan. They provide a full audit trail of stock additions, unlike manual quantity edits on the product form.
Step 1: (Optional) Add a Supplier
If you want to associate this order with a supplier, set them up first:
- From the main navigation, go to Suppliers.
- Click Add Supplier.
- Fill in the supplier's Name, VAT Number (optional), Phone Number, and address fields.
- Click Save.
The supplier is now available to select when creating a Receive Order.
Step 2: Go to Receive Orders
From the main navigation, go to Inventory (or the Stock Control section) and click Receive Orders. The list of past orders appears.
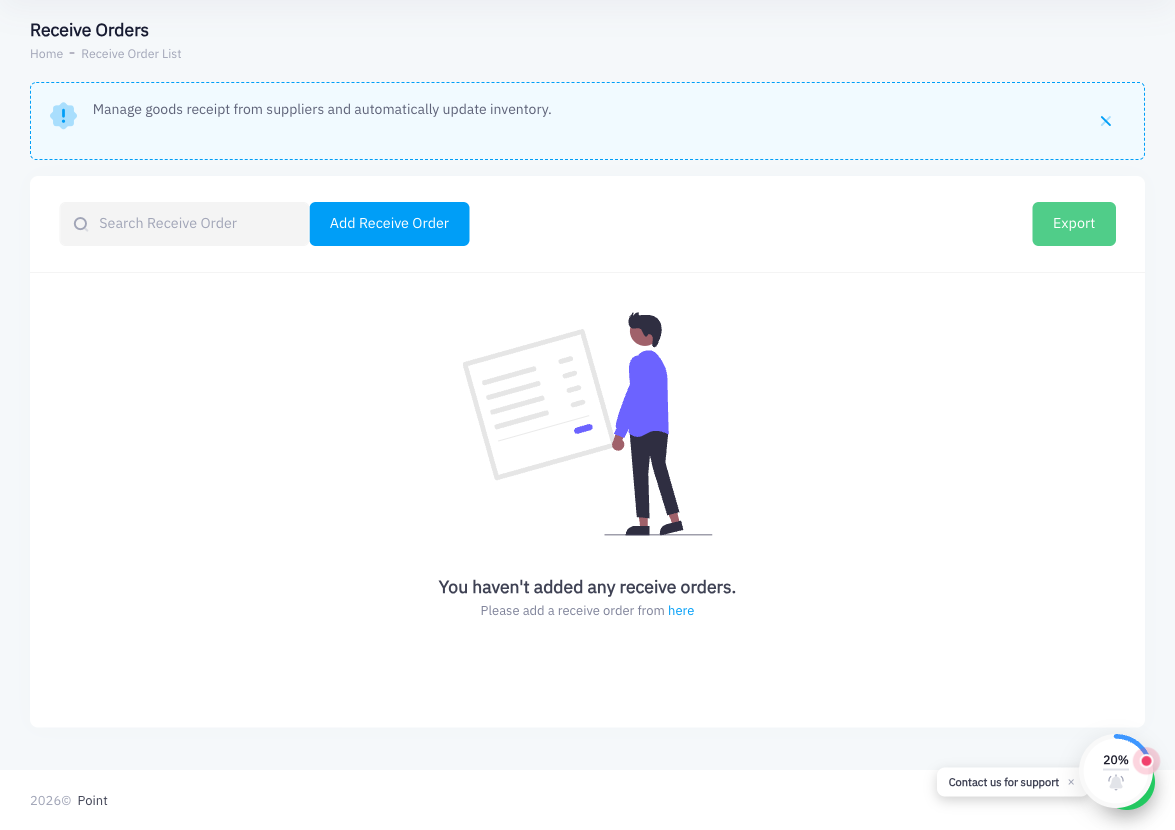
Step 3: Click Add Receive Order
Click Add Receive Order to open the order form.
Step 4: Review the Auto-Generated Order ID
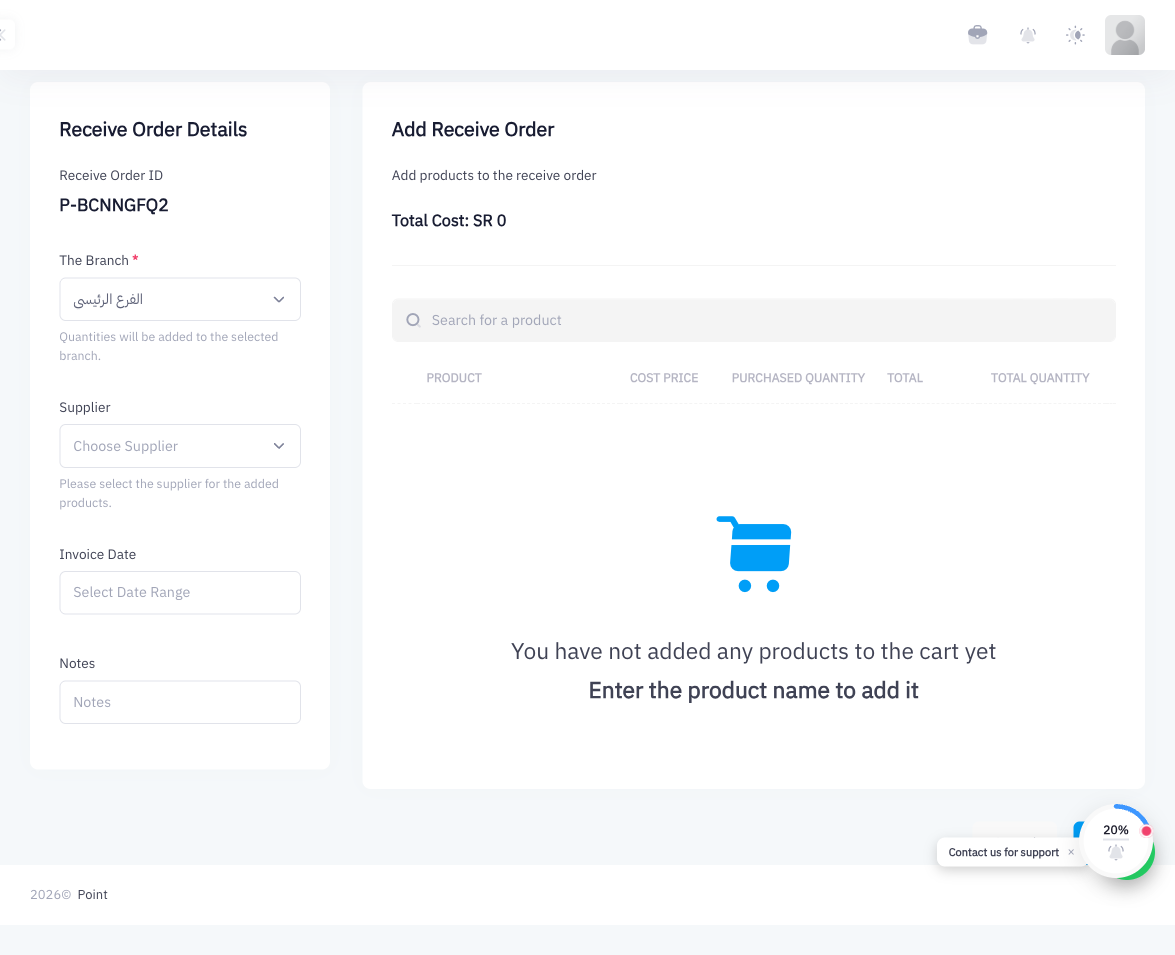
Point generates a unique Order ID automatically (for example, P-IDJQNMCU). You can leave it as-is or type a custom reference number that matches your supplier's invoice number for easier reconciliation.
Step 5: Select the Branch
Click the Branch dropdown and choose the branch that will receive this stock. The tooltip reminds you: "Quantities will be added to the selected branch." All products in this order will have their stock increased at this branch.
Step 6: Select the Supplier (Optional)
Click the Supplier dropdown and choose the supplier you set up in Step 1. If you have not set up a supplier yet, you can leave this blank and add one later.
Step 7: Set the Invoice Date
Click the Invoice Date field and select the date on the supplier's invoice. This date is recorded on the order for accounting and reporting purposes and does not have to match today's date.
Step 8: Add Products with Cost and Quantity
In the Products section, search for each product being received:
- Type the product name or barcode in the search field.
- Once found, set the Cost Price — what you paid per unit on this purchase.
- Set the Purchased Quantity — how many units you are receiving.
- Repeat for each additional product.
The Total Cost at the bottom of the section updates automatically as you add products.
Step 9: Review the Total Cost
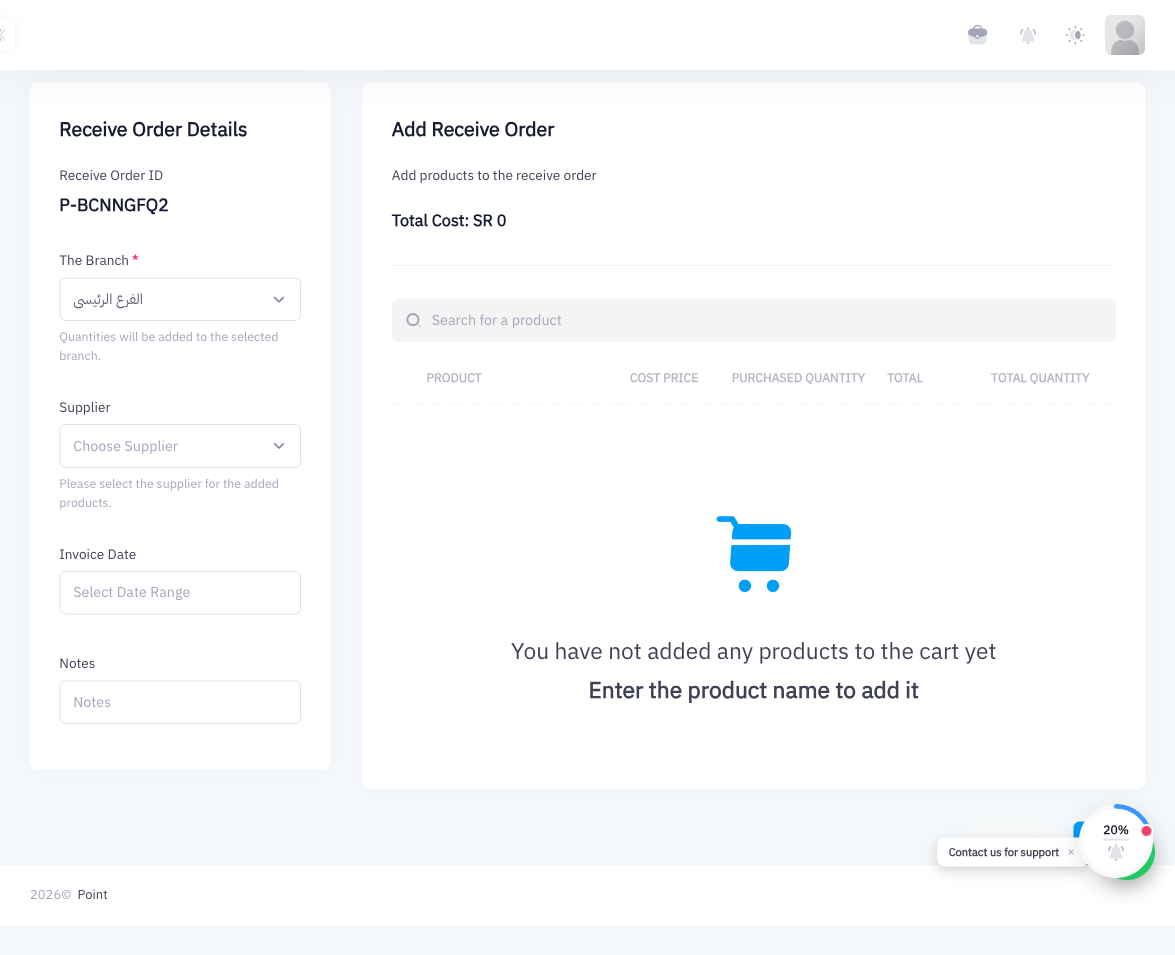
Check the Total Cost figure before saving. This should match the total on your supplier's invoice. If there is a discrepancy, review the unit costs and quantities.
Step 10: Click Save
Click Save to finalize the order. Point immediately increases the quantity of each product at the selected branch by the purchased quantity entered. The receive order is recorded in the system and can be referenced at any time.
Summary
Receive Orders (Purchase Orders) are the recommended way to add incoming stock to Point. You select a branch, optionally link a supplier, set the invoice date, and add each product with its cost and quantity. When you save, Point updates branch inventory automatically and keeps a permanent record of every stock receipt for audit and reporting purposes.
What's Next
- Managing Stock Levels — verify stock quantities after receiving an order
- Stock Counts & Audits — reconcile physical inventory against the system
- Inventory Transfers — redistribute received stock across branches