Bulk Import from Excel
Add dozens or hundreds of products at once by uploading a filled Excel spreadsheet instead of entering each product manually.
What You'll Learn
- How to download the official import template
- Which columns are required and which are optional
- How to upload your completed file and read validation results
- How to fix common import errors and re-upload
Before You Begin
- You must be logged in as an Owner or a user with product-management permissions
- Any categories you want to assign must already exist in your account, or you can add them after import
- Barcode values must be unique — duplicates within the file or against existing products will cause errors
Bulk import is managed by owners and managers. Review the import results carefully before announcing new products to your team.
Step 1: Go to Products
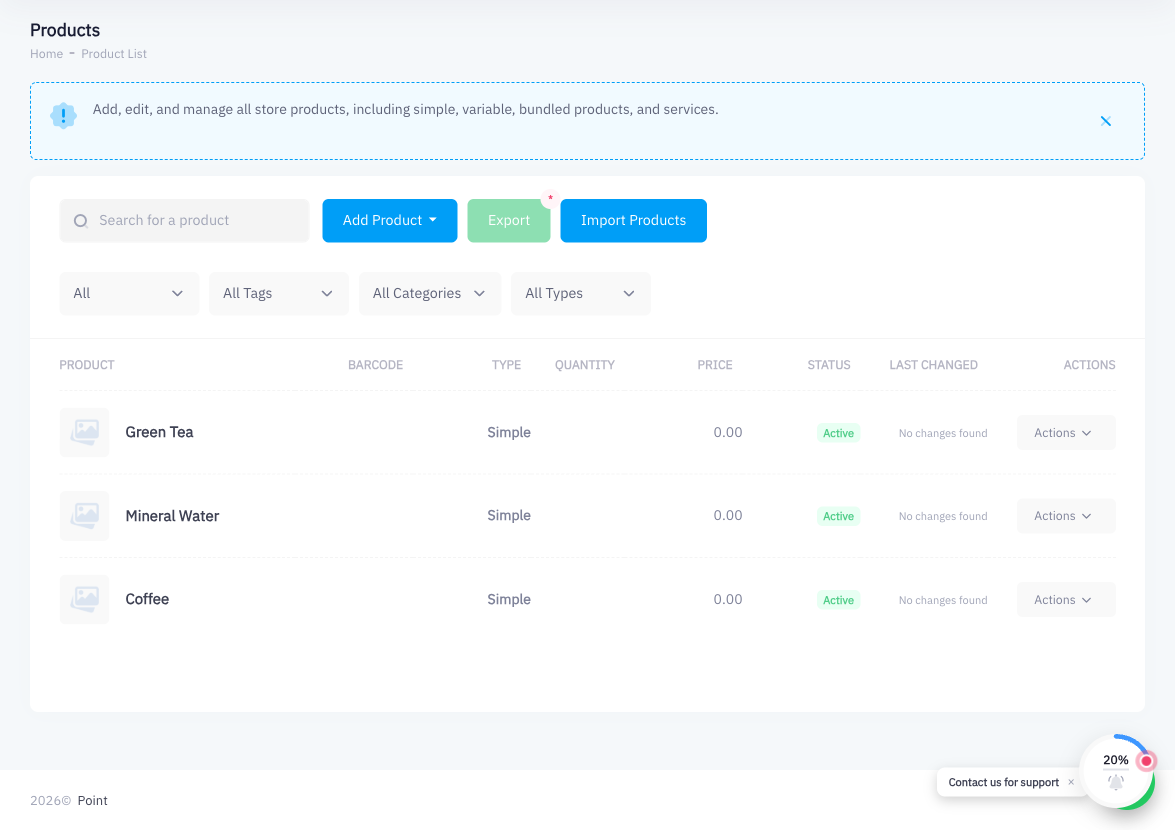
From the main navigation, click Products to open the product catalog.
Step 2: Click Import
Click the Import button near the top of the product list. The import drawer or page opens.
Step 3: Download the Excel Template
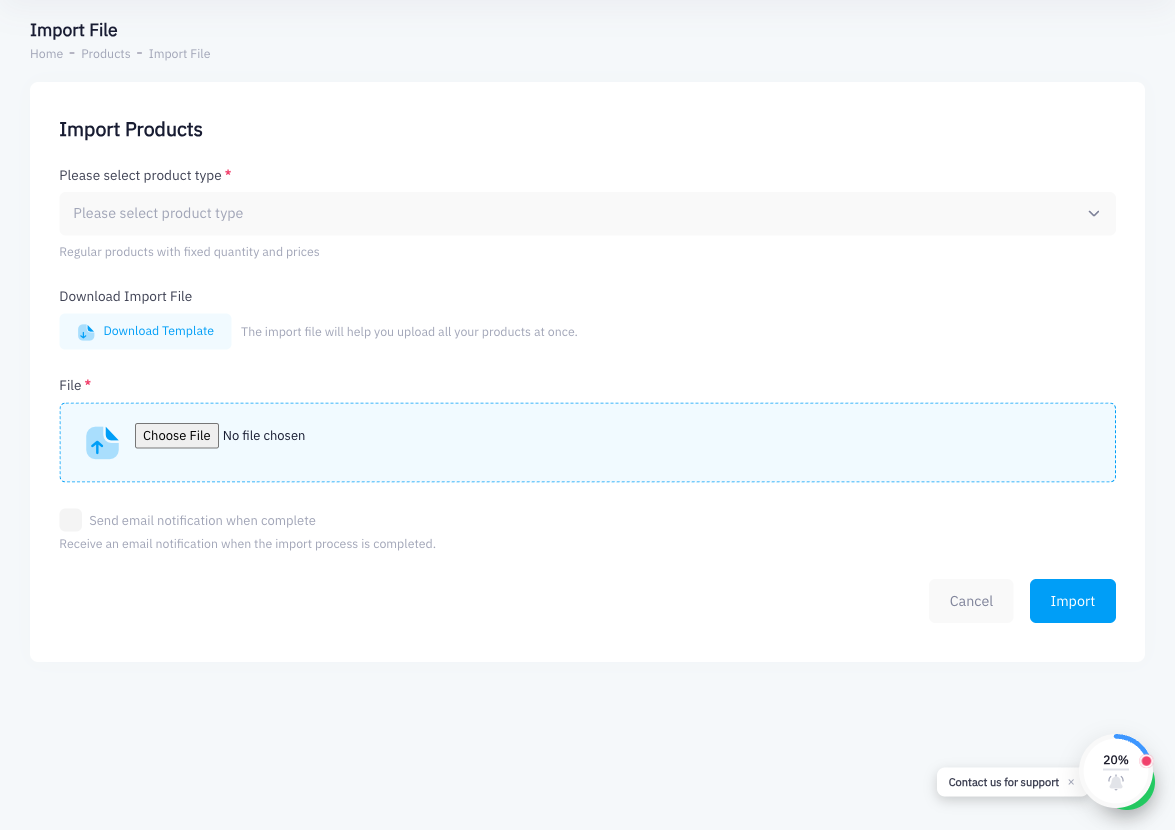
Click Download Template to get the official spreadsheet. Always use this template — do not create your own column layout, as the import engine expects the exact column order and names provided.
Step 4: Fill In Your Product Data
Open the downloaded Excel file and fill in your products. Key columns include:
| Column | Required | Notes |
|---|---|---|
| Product Name | Yes | Text, max 255 characters |
| Barcode | No | Must be unique if provided |
| Price | Yes | Tax-inclusive selling price |
| Cost | No | Your purchase cost |
| Category | No | Must match an existing category name exactly |
| Tax Type | Yes | Use the exact tax type label (e.g. ضريبة القيمة المضافة 15%) |
| Quantity (per branch) | No | One column per branch if you have multiple branches |
Leave optional fields blank rather than entering placeholder text — blank cells are ignored, text in number fields will cause a validation error.
Step 5: Upload the Filled Template
Back in Point, click Upload File (or drag and drop your file onto the upload area). Point processes the file and displays the results.
Step 6: Review Any Validation Errors
If any rows contain errors, Point lists them with the row number and the reason — for example:
- Duplicate barcode — a barcode already exists for another product
- Invalid tax type — the tax type label does not match any configured option
- Missing required field — Product Name or Price is blank
- Invalid quantity — a non-numeric value was entered in a quantity column
Step 7: Fix Errors and Re-upload if Needed
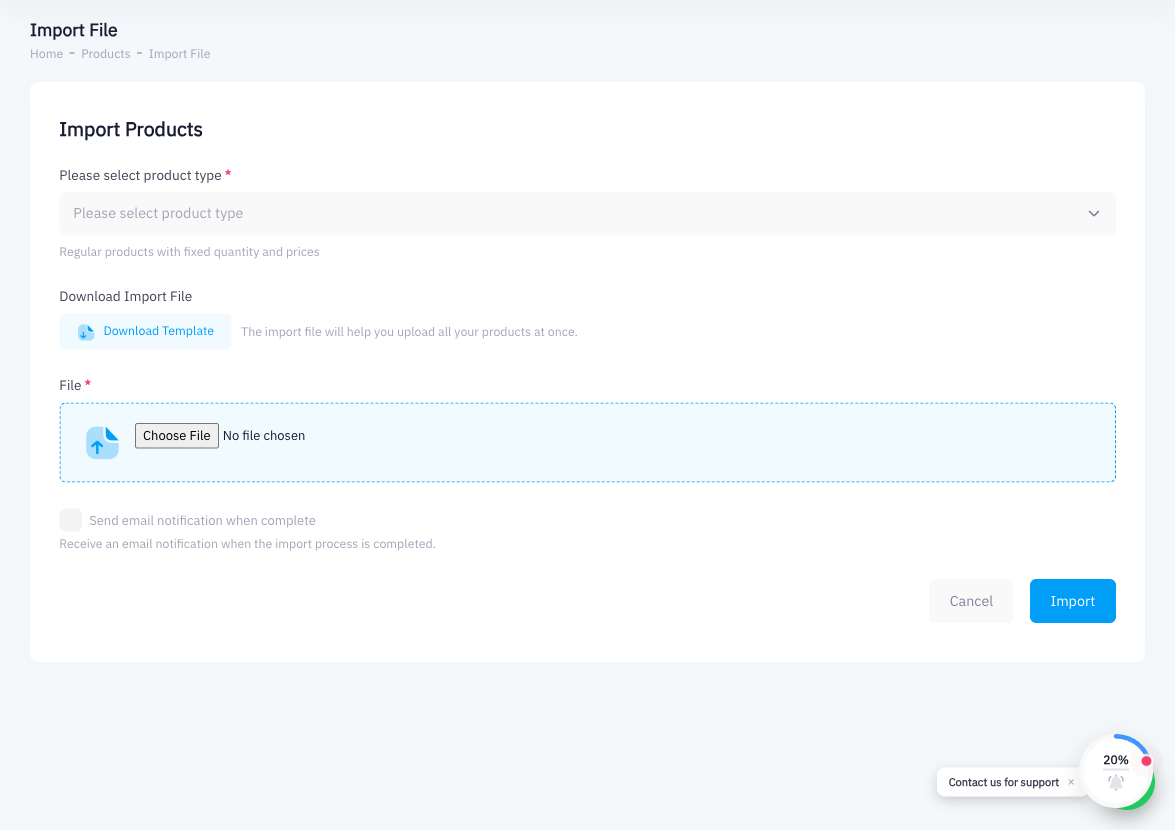
Open your Excel file, correct the flagged rows, and upload the file again. You do not need to remove successfully imported rows — Point will skip rows that were already imported and only process new or corrected ones.
Step 8: Confirm Successful Import
When all rows are valid, Point shows a success message with the number of products imported. Return to the Products list to verify the new products appear and have the correct details.
Summary
Bulk import lets you populate your entire product catalog from an Excel spreadsheet in minutes. Download the template, fill in your data carefully (paying attention to required columns, exact tax type labels, and unique barcodes), upload the file, and resolve any validation errors shown by Point before confirming the import.
What's Next
- Categories & Tags — organize your imported products
- Managing Stock Levels — adjust quantities after import
- Adding Your First Product — add individual products when the catalog is small