Customer Display Screen
Show cart items, prices, and the running total to your customer on a second screen during checkout.
What You'll Learn
- What the customer display shows
- How to enable the customer display for a register
- How to connect and position the second monitor
Before You Begin
- You have owner or manager access to Settings
- The POS machine has a second monitor connected (or you are setting it up in advance)
- You know which register will use the customer display
Step 1: Go to Settings > Branches and Registers
From the main dashboard, navigate to Settings and select Branches and Registers (or Branches depending on your plan).
Step 2: Select Your Branch
Click the branch whose register you want to configure.
Step 3: Open the Registers Tab
Inside the branch detail page, click the Registers tab to see all registers associated with that branch.
Step 4: Edit the Register
Find the register you want to enable the customer display on, then click Edit.
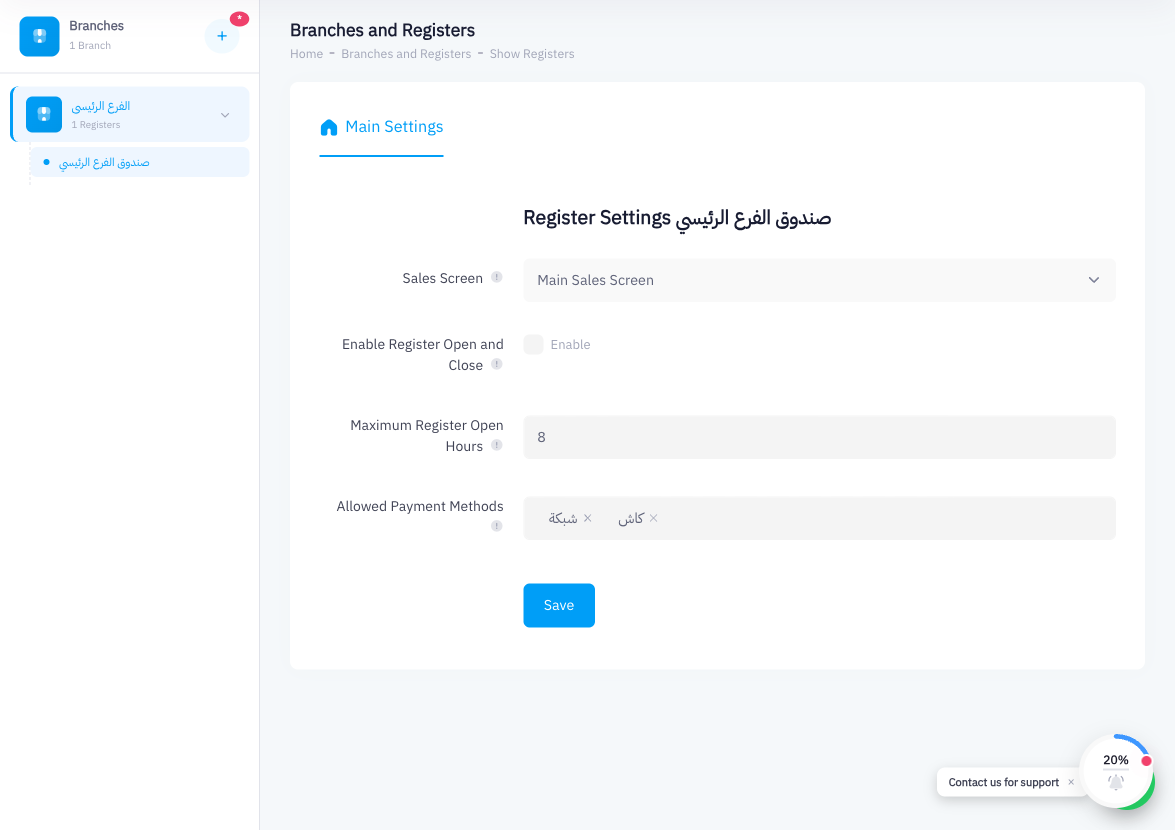
Step 5: Enable Customer Display
In the register settings form, locate the Customer Display toggle and turn it on. Save the register settings.
The Customer Display setting is per-register. If you have multiple registers in a branch, you can enable it on some and leave it off on others. Enabling it on a register that does not have a second monitor connected has no effect.
Step 6: Connect a Second Monitor
Attach the second monitor to the POS machine using HDMI, DisplayPort, or USB-C — whichever your hardware supports. Set your operating system to Extend the display (not mirror) so the second screen is independent.
Step 7: The Customer Display Opens Automatically
The next time the Cashier screen is opened on that register, Point detects the second monitor and opens the customer-facing display on it. The display shows:
- Each cart item with its name and price
- Quantities
- Any discounts applied
- The running total
The customer display updates in real time as items are added, removed, or modified in the cart.
Summary
The customer display is a per-register setting that turns a second monitor into a live cart view for customers. Enable it in Settings > Branches and Registers, connect a second screen to the POS machine, and Point handles the rest automatically. This reduces disputes at checkout by letting customers see exactly what is being charged.