Customizing Invoice Templates
Adjust the layout, logo, and visible fields of your printed and digital invoices from the Invoice Settings panel.
What You'll Learn
- How to navigate to the Invoice Settings and template editor
- How to upload your business logo to invoices
- How to toggle which fields appear on printed and digital invoices
Before You Begin
- You need owner-level access to edit Settings
- Have your logo image file ready (PNG or JPG recommended)
Step 1: Go to Settings > Main
From the left sidebar, click Settings, then click Main.
Step 2: Scroll to Invoice Settings
Scroll down the Main settings page until you reach the Invoice Settings section.
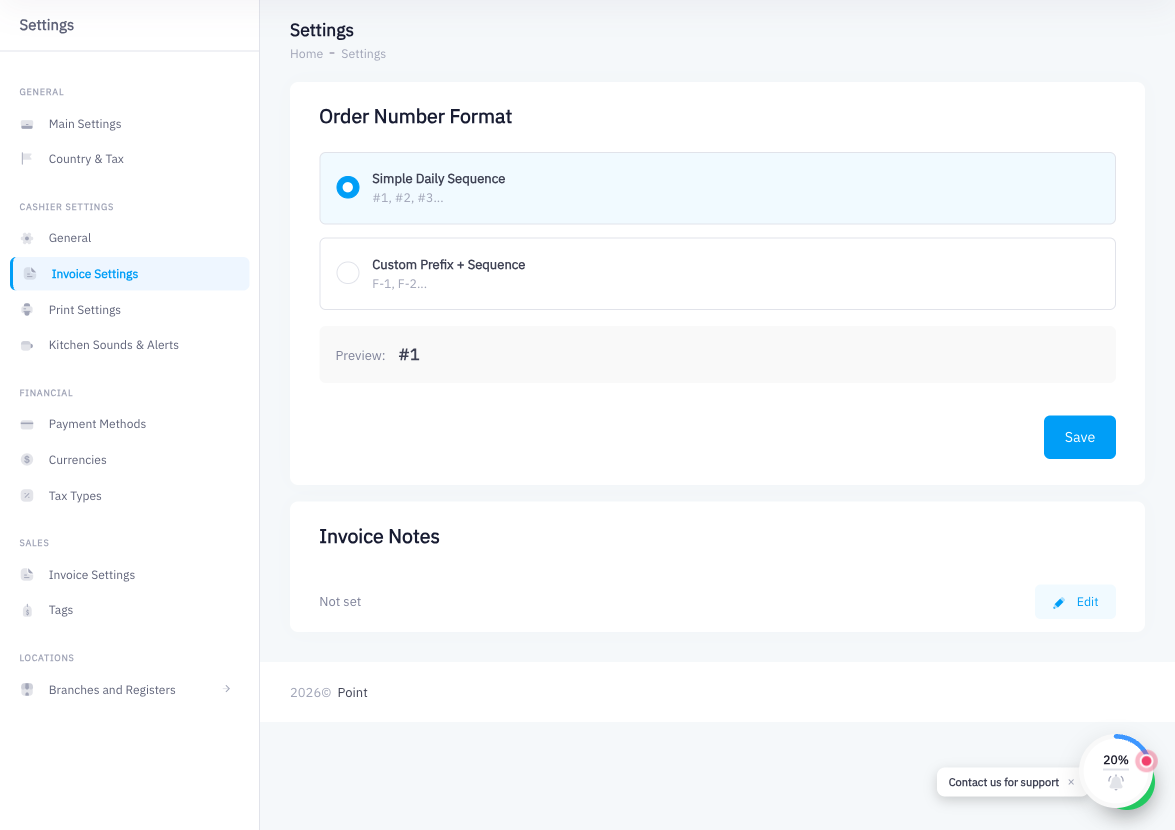
Step 3: Click Manage Templates
Click the Manage Templates button inside the Invoice Settings section. The template editor opens.
Step 4: Select the Template to Edit
If multiple templates are available, click the one you want to customize. The editor loads the selected template.
Step 5: Upload Your Logo
In the template editor, find the logo upload area. Click it or drag your logo file onto it. The logo will appear at the top of the invoice. Use a transparent-background PNG for the best result.
Step 6: Toggle Field Visibility
Use the toggle switches to control which sections appear on invoices:
| Toggle | What it controls |
|---|---|
| Company Info | Business name, address, VAT number |
| Customer Address | Customer's full address block |
| QR Code | ZATCA QR code (required if Phase 2 is active) |
| Notes | Order-level notes field |
| Payment Method | How the customer paid |
If ZATCA Phase 2 is active, do not disable the QR Code toggle — it is required for compliance.
Step 7: Preview the Template
Click Preview (or use the live preview pane if shown) to see how the invoice will look when printed or shared digitally.
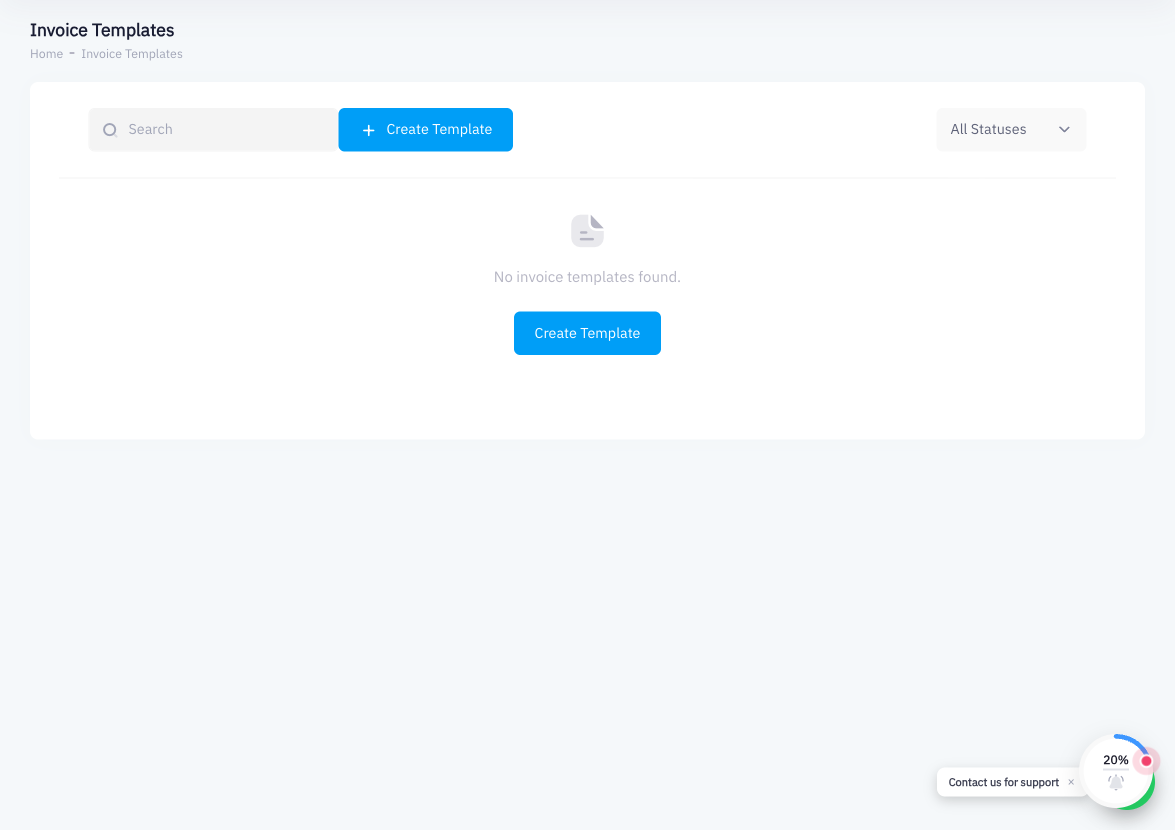
Step 8: Save
Click Save to apply your changes. The updated template is used immediately for all new invoices — both printed receipts and digital invoice PDFs.
Summary
Invoice templates are managed in Settings > Main > Invoice Settings > Manage Templates. From the template editor you can upload a logo, show or hide company info, customer address, QR code, notes, and payment method. Changes take effect immediately on all new invoices. Both printed receipts and digital invoices share the same template configuration.