Setting Up Your Branch
A branch is a physical store location. Every register (POS terminal) lives inside a branch, so you need at least one branch before you can process a sale.
What You'll Learn
- The difference between branches and registers
- How to view your default branch
- How to add a new branch with an address and a first register
Before You Begin
- You're logged in as the account owner
- You have the physical address of the branch ready
Branch management is an owner/admin task. Cashiers are assigned to branches but cannot create or edit them.
Step 1: Go to Settings > Branches and Registers
From the sidebar, click Settings and then Branches and Registers. The URL will be /settings/branches.
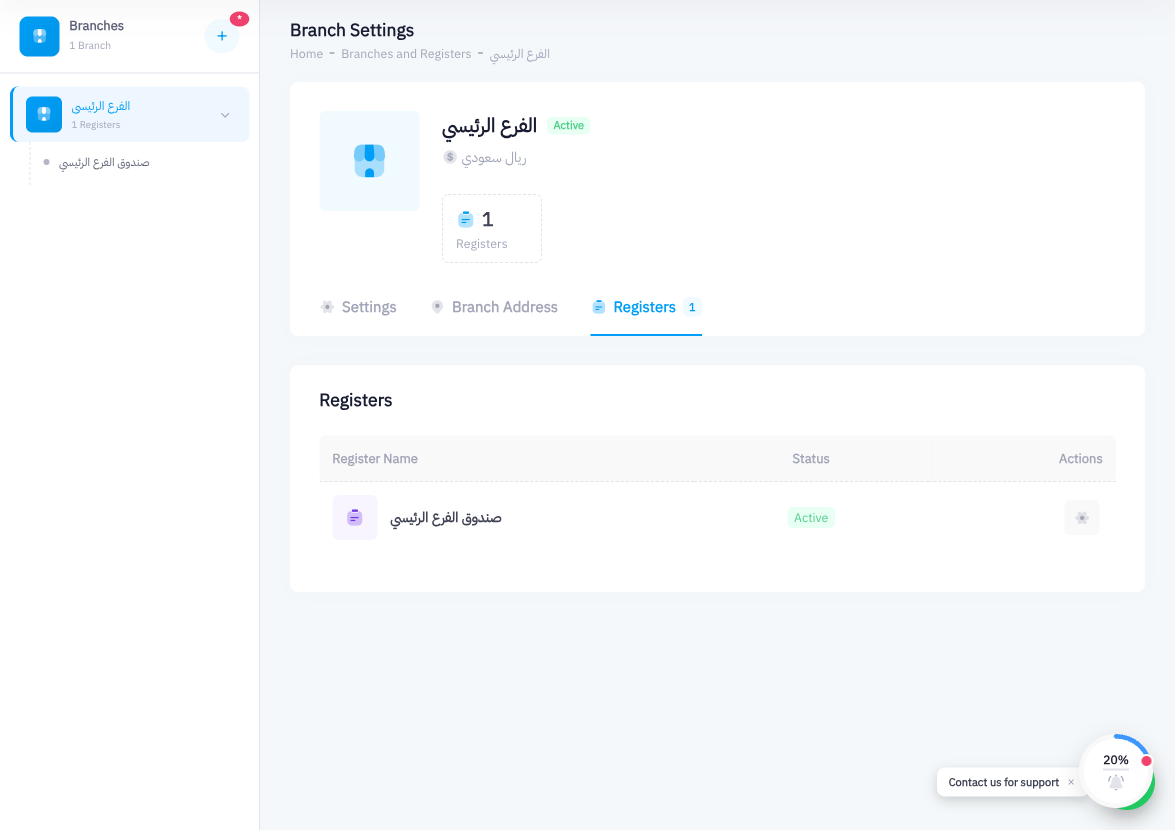
The page has a two-panel layout:
- Left panel — lists all your branches, each showing the branch name and how many registers it contains.
- Right panel — shows the details, address, and registers for the selected branch.
Step 2: View the Default Branch
When you registered, Point created a default branch for you. Click on it in the left panel to see its details in the right panel. You'll see three tabs: Settings, Branch Address, and Registers.
Take a moment to confirm the default branch name is what you want. You can edit it from the Settings tab.
Step 3: Click Add Branch
To add a second location (or to replace the default branch with one that has a proper name and address), click the Add Branch button — usually found at the top of the left panel or as a button in the header.
The Add Branch form will open.
Step 4: Enter the Branch Name
Type a clear, descriptive name for the branch — for example, "Riyadh Main Store" or "Jeddah Corniche Branch". This name appears in reports and on register sessions.
Step 5: Fill In the Branch Address
Provide the full physical address of this branch:
- Street Name
- Building Number
- Postal Code
- Province — Select from the dropdown.
- City
- District
Step 6: Select the Currency
Choose the operating currency for this branch. For Saudi branches, select SAR (Saudi Riyal). If you operate in another currency, select it here — you can manage additional currencies in Settings > Main > Currencies.
Step 7: Name the First Register
Every branch needs at least one register. In the same form, enter a Register Name for the first POS terminal at this branch — for example, "Counter 1" or "Main Till".
Step 8: Click Add Branch
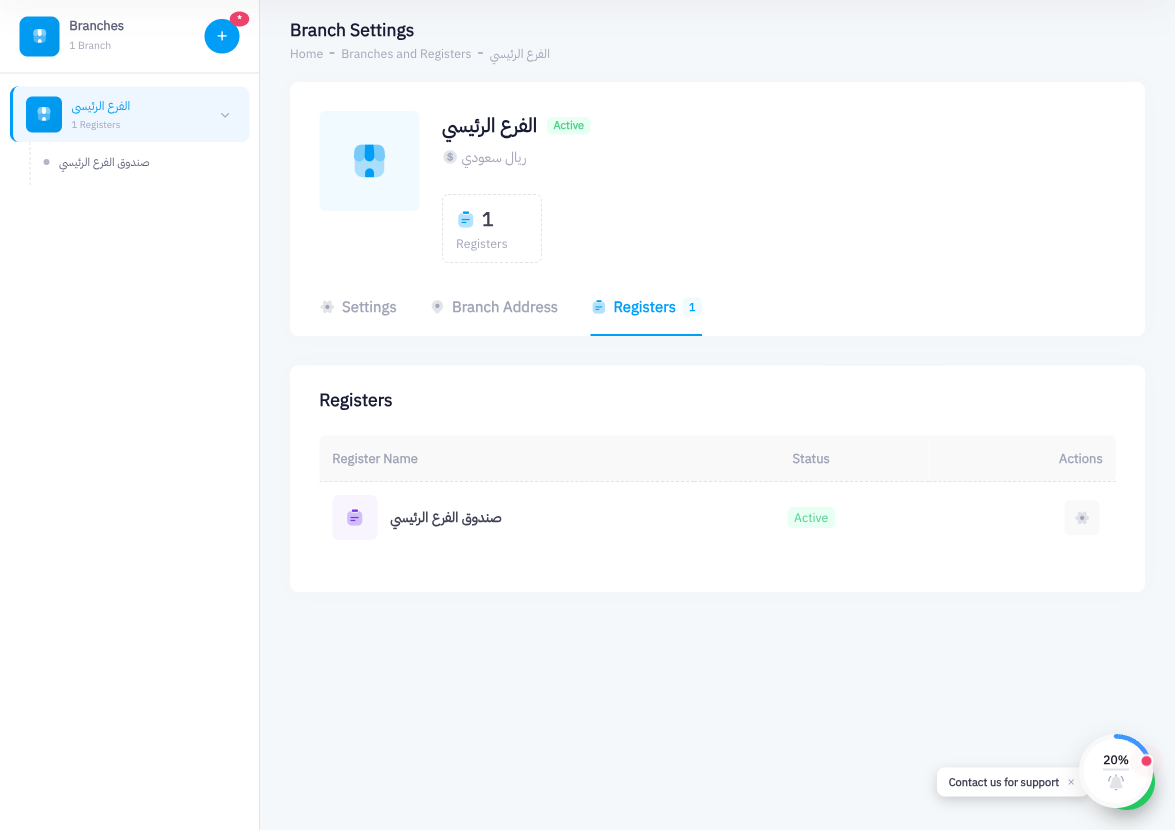
Click the Add Branch button to save. The new branch will appear in the left panel, and its first register will already be created under the Registers tab.
Summary
Branches are the physical locations where your business operates. Each branch holds one or more registers (POS terminals). When you add a branch, you give it a name, a complete address, a currency, and at least one register name — Point sets everything up in one go.